In the search for a sandwich bread and something that I could give my father-in-law for his April
Christmas present, this recipe in Laurel Robertson's book sounded interesting. I had enough time to soak the dried garbanzo beans (chickpeas) and they would be cooked and ready in time on baking day. I was also excited about trying a new piece of cookware... read on.
Preparation
LR recommends that the beans be cooked just before using them because cooked beans begin to ferment quickly. This was new information to me. I've frequently seen recipes that say you can cook a big batch of garbanzo beans and refrigerate them for about a week to use in different dishes. In order to make sure the beans mixed into the dough well, I processed them with a hand blender until fairly smooth. This can get tricky when blending in open containers and without added liquids, little flecks of beans kept flying around.
I added 1.5 tsp of vital wheat gluten to the flour to ensure a good rise. Yeast and salt are also added to the flour. The liquid used is the water from boiling the beans and water, if needed, to make 2 C of liquid. I had more than 2 C of liquid because I had cooked more beans than needed. So I did not need to add extra water. However because the beans had just been boiled, the liquid was fairly hot (120° F), and it needed to be 70° F for mixing in. I added the honey and optional oil (half the specified value) and worked at cooking the liquid so I could move on.
 |
| Ingredients grouped together |
Kneading
The dough was unusually soft and elastic. It wasn't wet but it was very different than most doughs. Very pleasing to knead.
 |
| After mixing all the ingredients and kneading for 20 minutes |
Rising
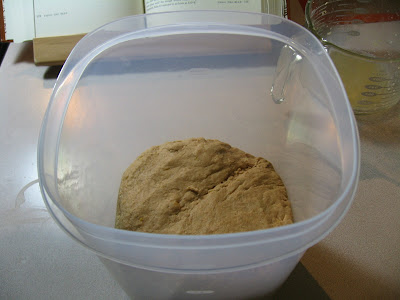
The dough rose unexpectedly high. Within an hour and 20 minutes it was touching the lid of the container. Remember, I had two loaves worth of dough.
 |
| Most impressive rise I've seen in this container. |
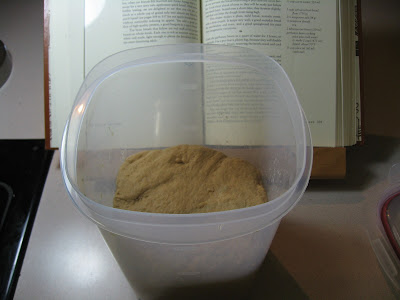 |
| Deflated and ready for a second rise |
 |
| Another good rise after 35 minutes |
 |
| Split in two, rounded and resting |
New cookware
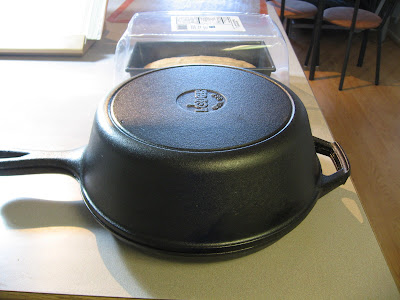
The day before this bread was baked I received a pleasant surprise in the mail. A belated birthday present from my brother-in-law (from my Amazon wish list), a Lodge cast iron 3 qt combo cooker. I had read about how it is a great multi purpose utensil to have and especially nice for baking bread. I couldn't wait to bake in it.
I didn't have time to read a lot about bread baking in closed cast iron pots before attempting this. One school of thought is to preheat the cookware and then, very carefully, slip the proofed dough in it. The other school of thought is to proof the dough in the skillet/pan at room temperature and then put it in the oven as usual. The moisture in the bread released during baking is trapped in the closed container, creating conditions similar to those in professional ovens. In either method, the cover/lid is to be removed half way through the baking period to allow the crust to brown.What I didn't study much is the ideal baking temperature for the two methods.
I was still getting used to the weight and handling of the cookware, so I decided to try the non preheat method. I used the lid / skillet as the base and used the pan as its cover. I also chose to use parchment paper at the base because the skillet is not non-stick, yet. I used the specified temperature of 350° F (after preheating the oven to 425°), but I think if cold cast iron is being used, the baking temperature should be higher, around 450° F. I will be reading up more about that soon.
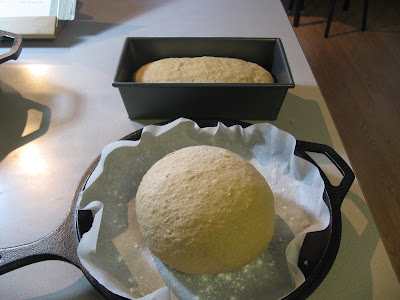 |
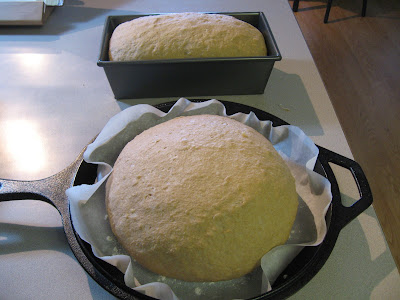
| Ready for proofing |
 |
| Proofing in the combo cooker |
 |
| Spread out boule, but not bad |
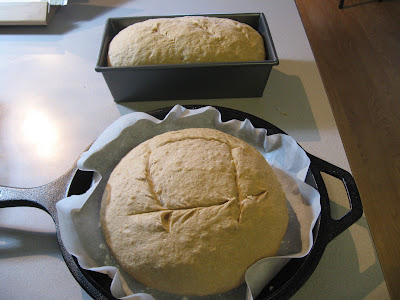 |
| Scored |
Baking
Neither loaf got much oven spring, I wonder if it was overproofed. With the lid on the cast iron combo cooker (I am going to have to come up with a shorter name, cicc?), it was hard to tell what was happening in there. I took the lid off after 20 minutes. The deep pan of the combo cooker is fairly heavy and definitely requires both hands. It also means that a lot of heat escapes when the lid is being removed from the oven. I let the boule stay in the oven a little longer than the loaf pan, reasoning that it had got a slow start in the cold cookware.
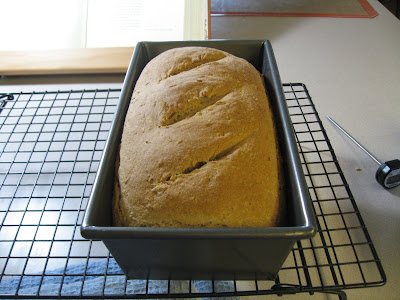 |
| The loaf out of the oven. |
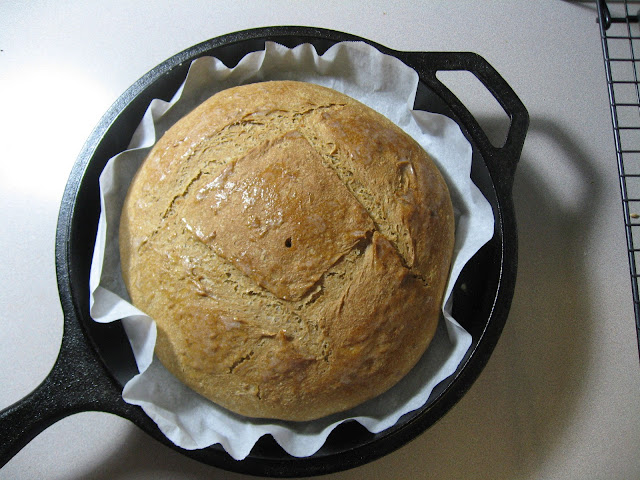 |
| The boule, out of the oven |
 |
| Slices | |
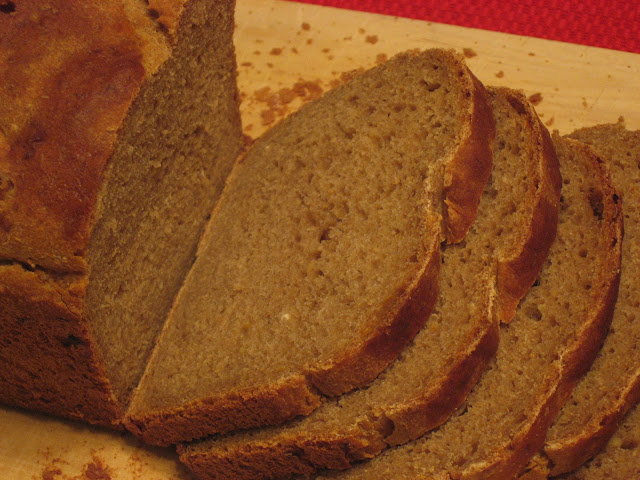 |
| Crumb shot |
The Bread
Both the loaves got a quick brushing of butter to soften the crust. We gave my father-in-law the boule, so I don't have crumb shots for it. The loaf sliced well, but when we used it for sandwiches, it feel apart a bit. I had some with almond butter and it was great. It is really hard to tell any presence of the garbanzo beans, they lend a very mild flavor to the bread.
Notes
Date: April 3, 2011
Recipe: Mediterranean Garbanzo Bread from
Laurel Robertson's book, 'The Laurel's Kitchen Bread Book'
Flours: Whole wheat
Bread specific ingredients: Garbanzo beans
Sweetener used: Honey
Liquid: Water from boiling garbanzo beans
First rise time: 100 minutes
Second rise time: 35 minutes followed by 10 minutes of rounding and rest.
Proofing time: 30 minutes
Comments: Added 1.5 tsp vital wheat gluten (about 7 g in 745 g of flour). Used 2 T vegetable oil, half the quantity of the suggested optional oil. Used 300 grams of cooked beans for the specified 200 g of dried beans (about 2 C). Dough rose wonderfully well, not sure how much of that was helped by the v.w.gluten. Wonderful texture of dough to knead.
I'm looking forward to more bread baking in the cast iron combo cooker.
-RPH


